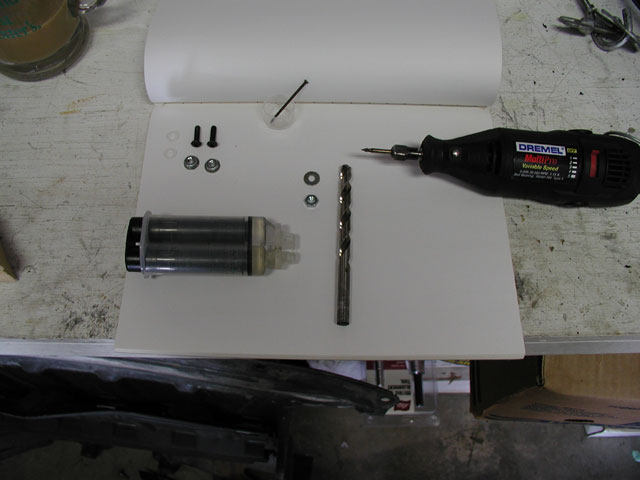
Here are the tools that are needed:
Dremel and Metal Grinding Tips
Allen Head Bolts (4) - approximately 1/2 long
Hex Nuts (4) - to fit the allen head bolts
Washers (4) - Slightly larger than the nuts.
Drill bit - Slightly smaller than the nuts (large)
Drill bit - Size of the Allen Head bolts (small)
Drill
Fast Drying Epoxy
Nail (2)
Small container to mix epoxy (2) - Use a cap from a water bottle.
Allen Wrench
Small Roll of Weather Striping
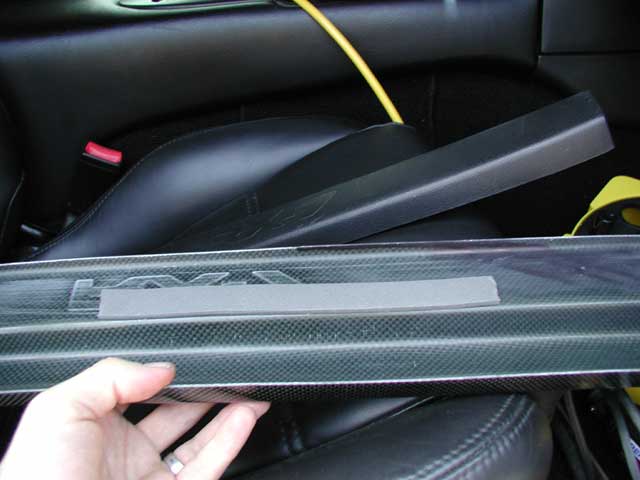
Here are the installation steps:
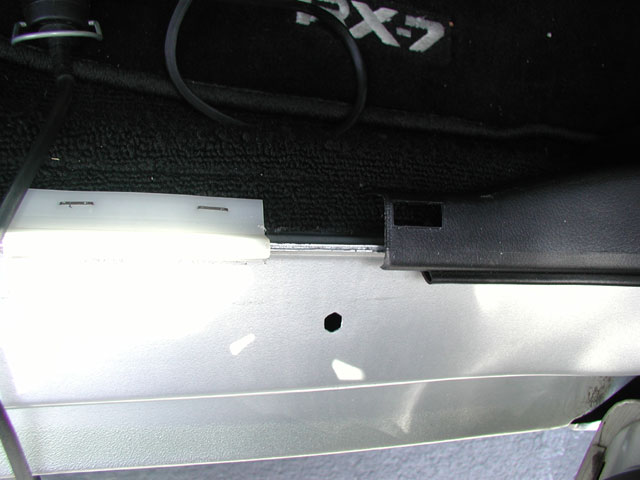
1. Using the small drill bit, drill one hole on each end of the door sill;
2 holes per sill. Each sill should have two marks for the holes. Use a piece
of wood in the back side and drill slowly.
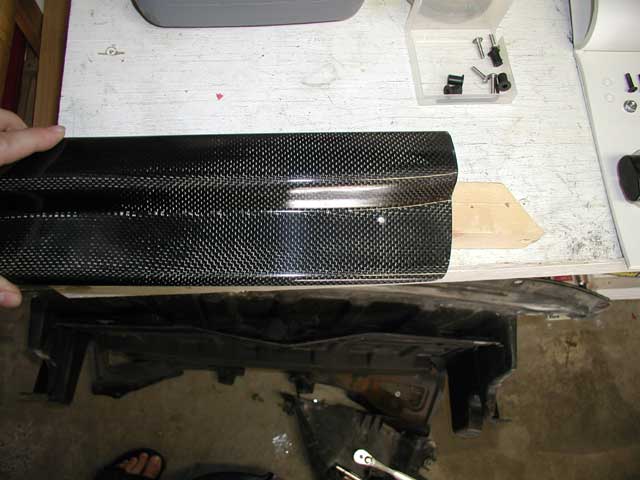
2. Check to make sure that the door sill fits flush where positioned. It may need slight pressure to fit downward;
that is ok.

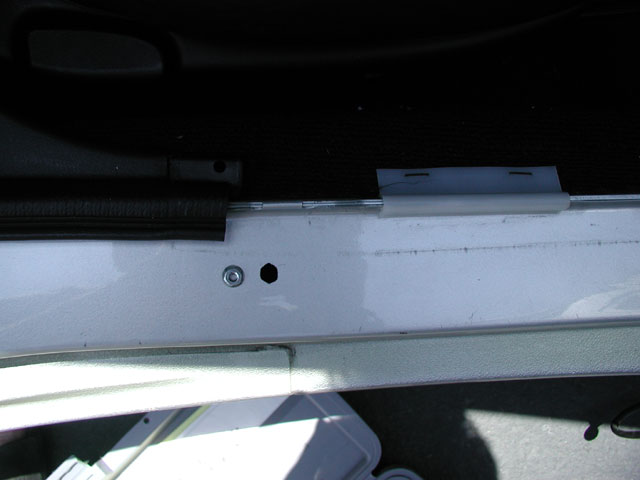
3. Align the door sill exactly where you would like to fasten it down. With
a pen, nail, etc., mark the center of each hole onto the frame.
4. Drill holes where marked, slightly smaller than the Hex Nuts.

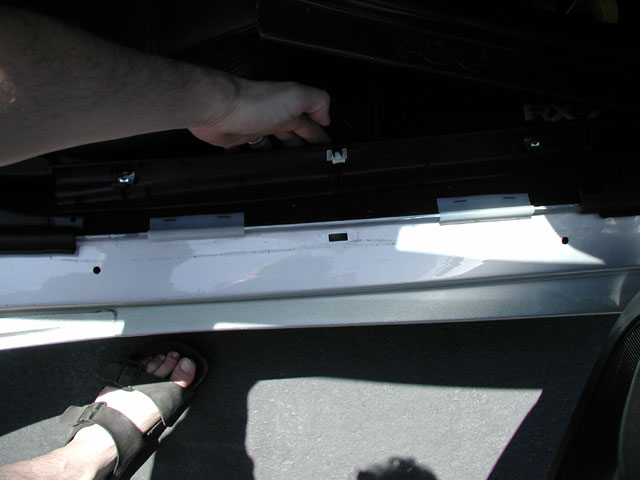
5. Ensure that both holes align with the holes drilled on the door sills.

6. Using the Dremel, enlarge the hole to resemble the Hex Nut shape, so that
the hole is the same size.
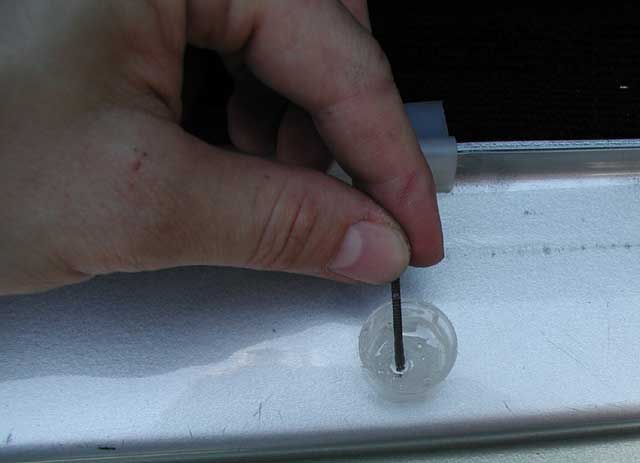
7. Mix the epoxy and use the epoxy to adhere the Hex Nuts to the washers. Make
sure not to get epoxy
the hole, and remove excess from the edges of the Nut. Use an extra Allen Head
Bolt to hold the Hex Nut
in place until the epoxy dries.
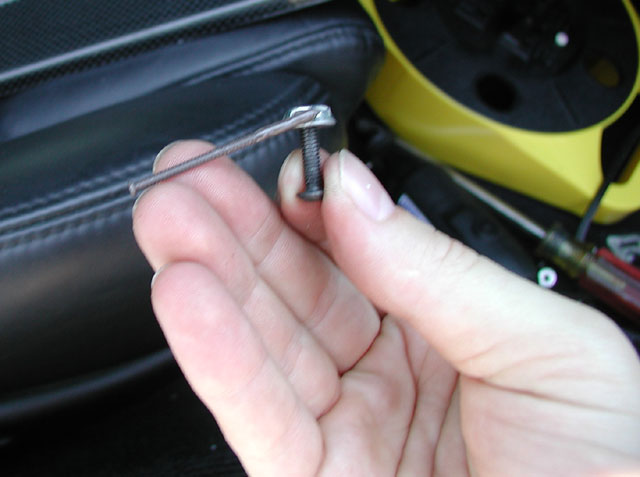
8. Once the epoxy dries on the nut, test fit the assembly into the drilled
and Dremelled holes. A tight fit is ok.
Mix additional epoxy and place it around the holes and around the outside of
each nut, then lightly tap each
Hex Nut assembly into place, let dry completely.
9. After each one is dry and does not have any movement, set the door sill
in place to see where padding
underneath will be added for support.
10. Place the door sills in place and tighten down with the Allen bolts.
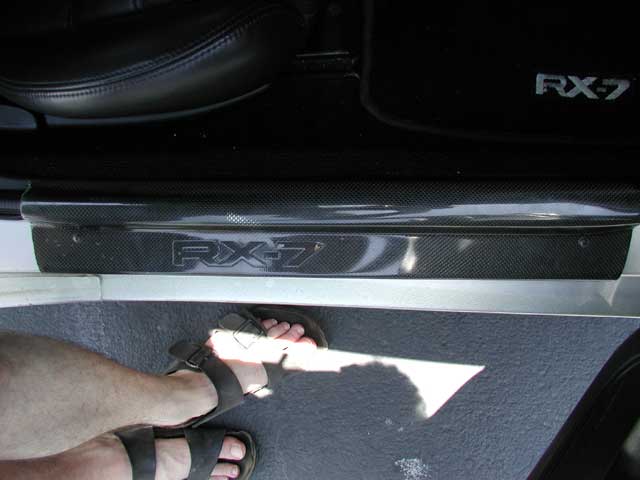
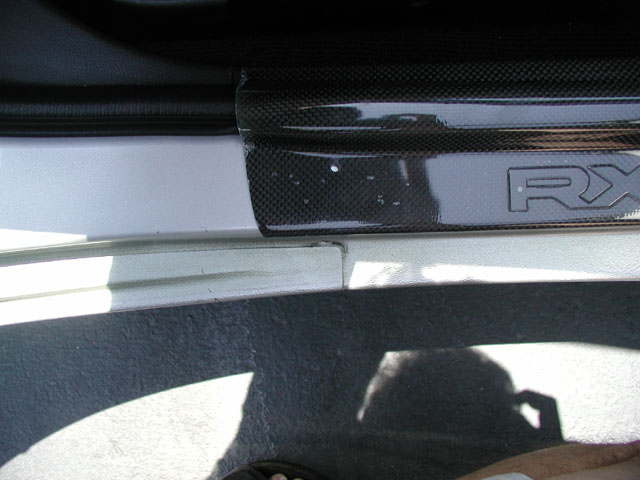
11. You are done! Now you can tell people: "Wow! Look at what I gots!"